Forms
Forms provide you with a powerful API to collect and manage form submissions from your applications.
Getting Started
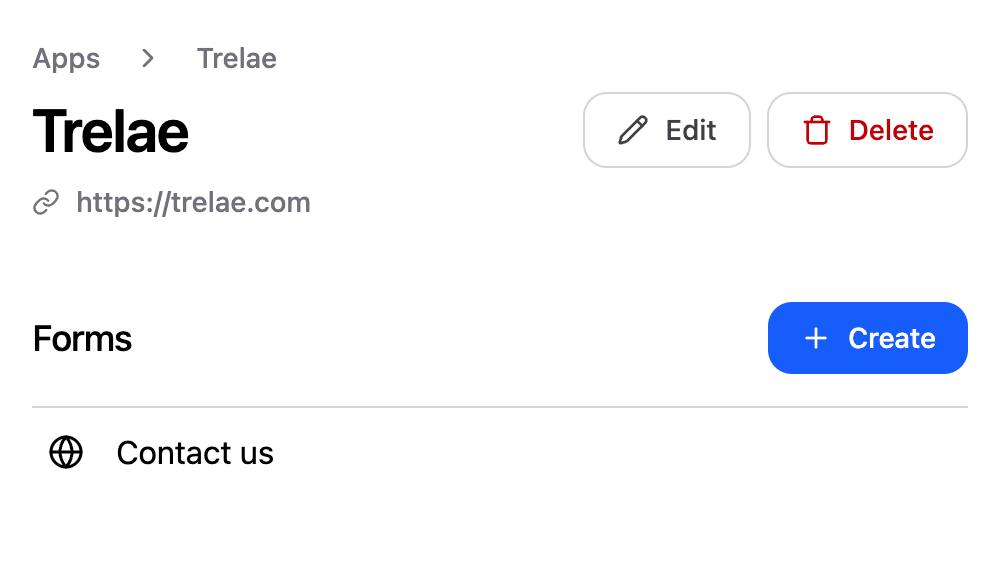
To create a form, navigate to your app's dashboard and click "Create Form". You'll be able to configure your form's settings and define its schema.

Form Privacy & Security
Forms can be configured as either public or private:
Private Forms (Default)
Private forms require a secret key to be submitted. This provides an additional layer of security and prevents unauthorized submissions.
You need to pass the secret key in the Authorization header using the Bearer scheme.
You can generate a secret key from your app's dashboard. For example: Authorization: Bearer YOUR_SECRET_KEY
Public Forms
Public forms can be submitted by anyone on the internet without authentication.

Defining Your Form Schema
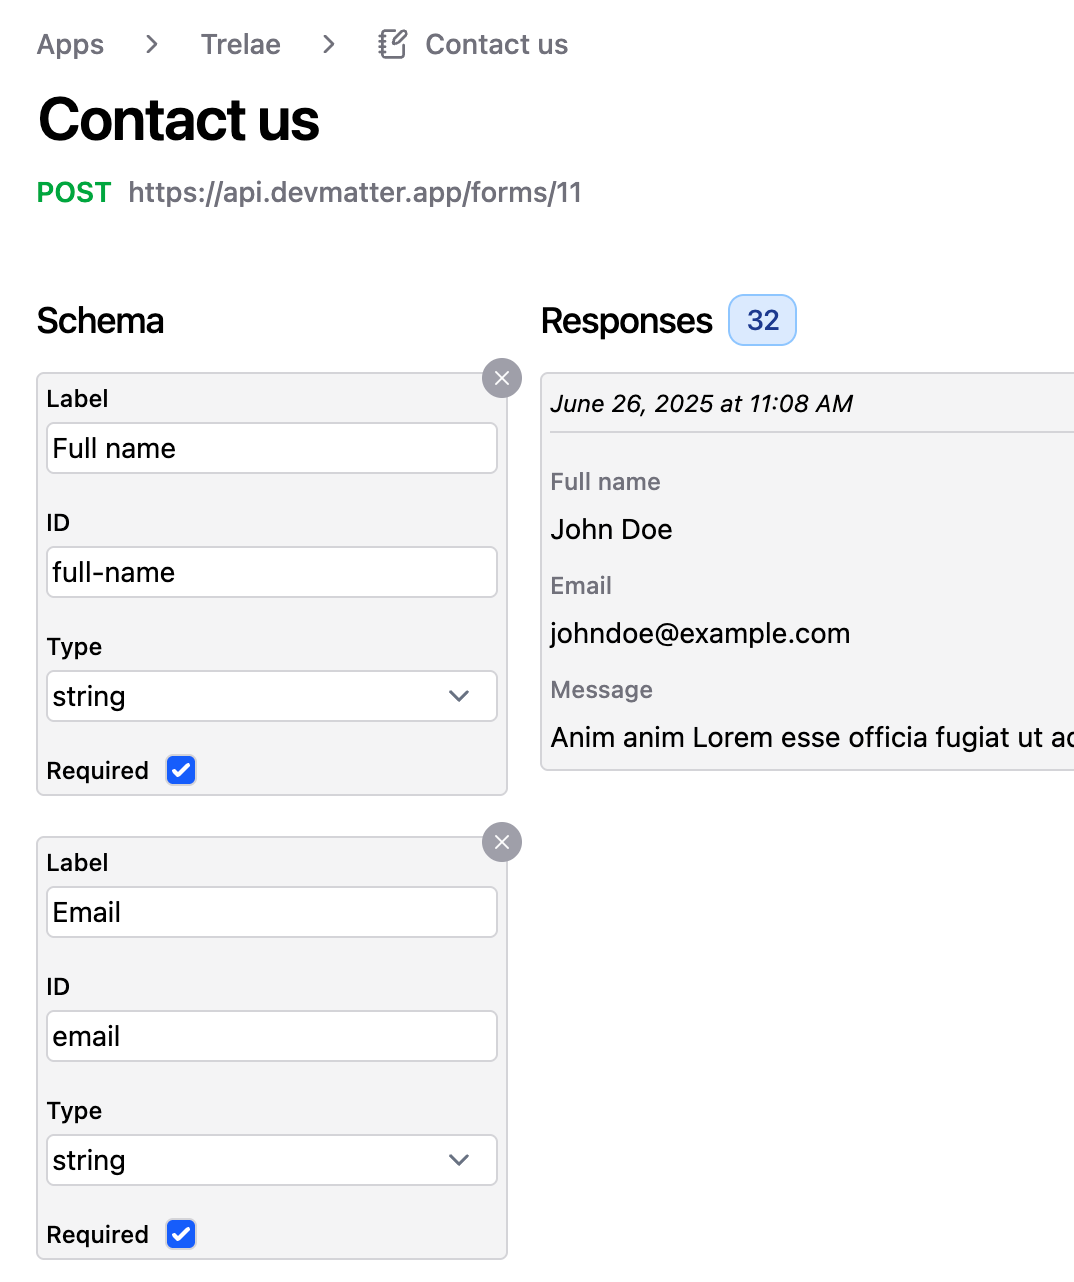
Every form requires a schema that defines its structure and validation rules. For each field in your form, you need to specify:
- Field ID: A unique identifier for the field (e.g., "full-name", "email")
- Label: The display name for the field
- Type: The data type (string, number, file)
- Required: Whether the field is mandatory
This schema enables automatic validation and proper data storage. DevMatter will validate submissions against your schema and reject invalid data.

Submission Methods
DevMatter Forms supports multiple submission methods to fit your application's needs. It accepts JSON, FormData, and URL-encoded data. This makes it easy to integrate in any manner.
1. HTML Form Submission
Use a standard HTML form element by setting your unique form URL in the action
attribute. Make sure the name attribute of each input matches your field ID.
<form action="https://api.devmatter.com/forms/your-form-id" method="POST">
   <input type="text" name="full-name" required>
   <input type="email" name="email" required>
   <button type="submit">Submit</button>
 </form>
2. JSON API Submission
Make a direct HTTP POST request with JSON data. Ensure that the JSON keys match your field IDs.
POST https://api.devmatter.com/forms/your-form-id
 Content-Type: application/json

 {
   "full-name": "John Doe",
   "email": "john@example.com"
 }
Response Handling
After a form submission, you can choose how users should be handled - either with a JSON response or a redirect.
JSON Response (Default)
By default, successful submissions return a JSON response with the submission ID:
{
   "responseId": 123
 }
This is ideal for fetch submissions or when you want to handle the response programmatically.
Redirect Response
You can configure your form to redirect users after submission instead of returning JSON. This is perfect for traditional HTML forms.
Setting Up Redirects
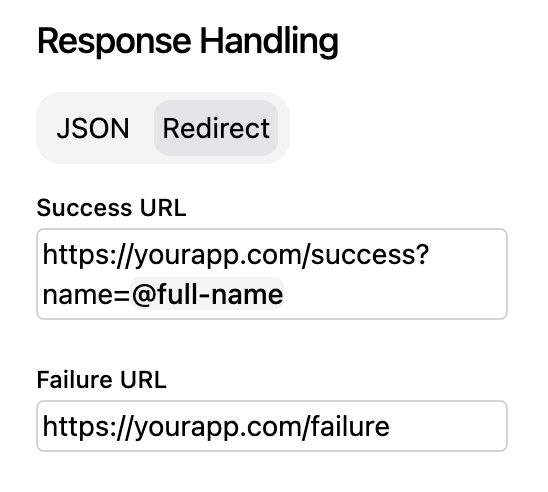
- Success URL: Where to redirect after successful submission
- Failure URL: Where to redirect if submission fails
- Default Pages: If URLs are left blank, we'll redirect to our default success/failure pages
Dynamic Parameters
You can include submitted form data in your redirect URLs using the @ symbol
followed by the field ID. For example:
Success URL: https://myapp.com/forms/success?name=@full-name&email=@email
If a user submits a form with "John Doe" in the full-name field, the redirect
would become:
https://myapp.com/forms/success?name=John%20Doe&email=john@example.com
Best Practices
- Field IDs: Use descriptive, kebab-case field IDs (e.g., "full-name", "phone-number")
- Validation: Define appropriate field types and requirements to ensure data quality (Add additional custom validation in your app if required)
- Security: Use private forms with secret keys for sensitive data (Don't expose your secret keys)
- User Experience: Provide clear success and error messages through redirects or custom handling
- Testing: Always test your forms with both valid and invalid data